Helpdesk

Helpdesk

How to link your VR headset

Step 1 – Log in to your account

Log into your Smart VR Lab account on app.smartvrlab.nl.

Step 2 – Navigate to Devices

Navigate to the tab ‘Devices’ and click on the button Add Device.

Step 3 – Get 5 Digit Code

When you press the Add Device button, a 5 digit code will appear on the web platform. Go to your VR Device and start the Smart VR Lab app. To get the Smart VR Lab app on your Meta Quest you can get it here.
In the VR device you will be asked to fill this 5 digit code.

If the code you filled in is accepted, have successfully linked your VR Headset to Smart VR Lab, congratulations!

Add Device
Enter the code in the numpad.
Step 4 – Give Your Device a Name
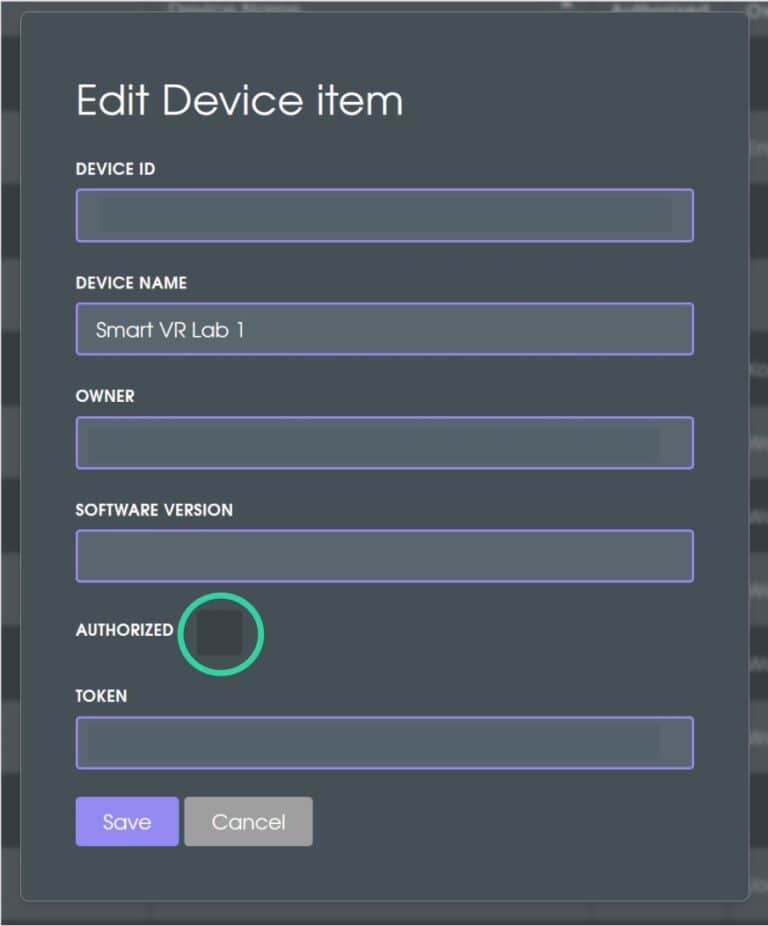
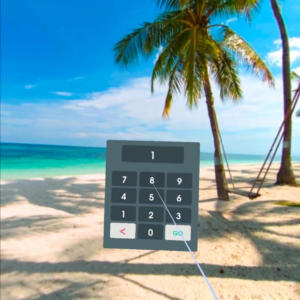
As soon as you enter the code to link the VR headset a new tab will pop-up named: New Device and it will show you the device data. You’re able to register it under a Device name (Headset 1 for example) and assign an owner (e.g. the person in charge of the device).
 

If you hit Save then your device will be linked to the server.

 
Step 5 – What does Authorize do?
If you want to publish content you need to check one thing. Make sure the status of your device has a green checkmark in the Devices tab.
If it doesn’t, press the red cross. A green check mark should appear.
 
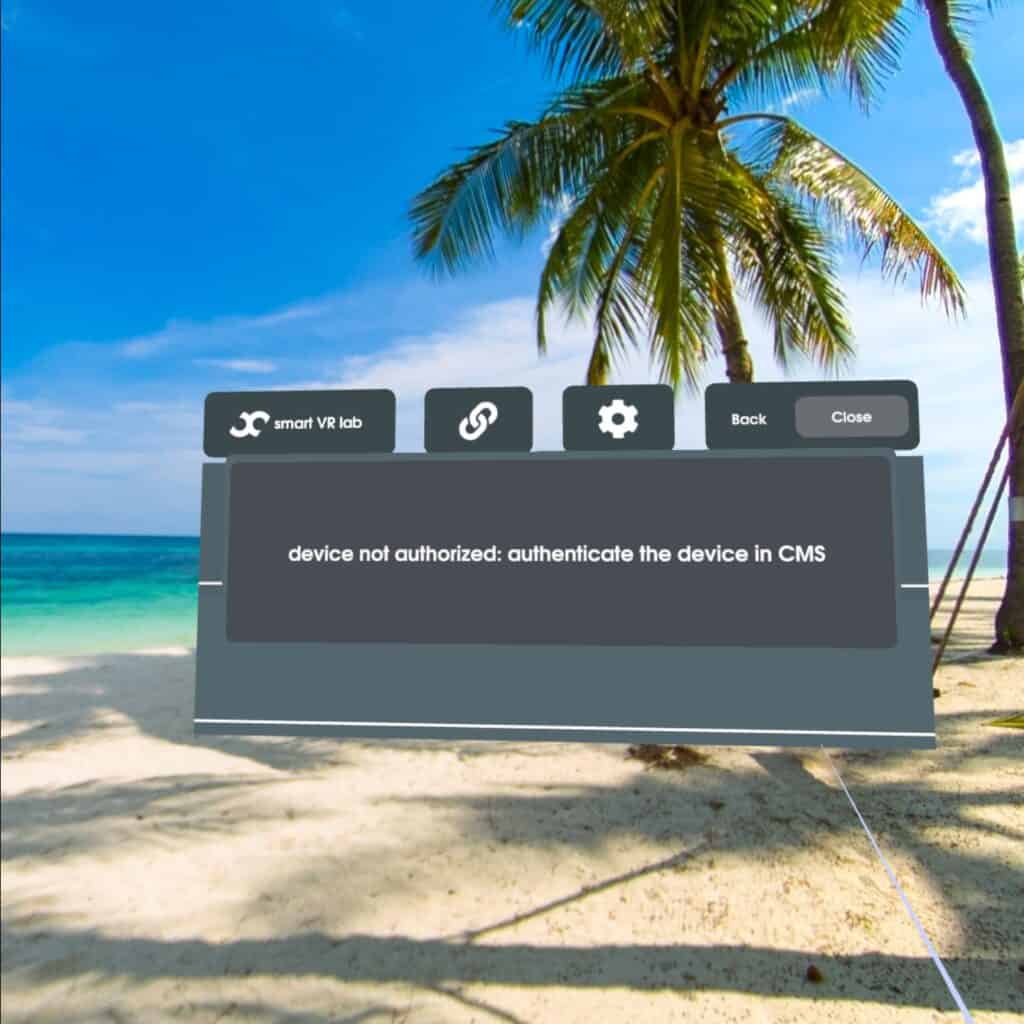
In case you unchecked the Authorize checkmark in the Add device window, the VR device will not be able to access any content
This is what happens in your Quest if you un-authorize a device


You can always make all published content unavailable to each device registered by setting the Status column to a red cross.

 
Step 6 – Publish Content
 
Your device is now active and you’re ready to publish content! If you already uploaded content, you can publish content by following these steps: How to publish content.
 
If you didn’t upload content, please upload VR Videos and VR Images first.

© 2019 Smart VR Lab. All rights reserved.