Welcome to the guide to Smart VR Lab CMS (Contend Management System)! If you made it here, you’re probably starting out on your VR CMS journey with the Smart VR Lab App. We love to have you here! What next, though? How do you start?
Let’s go over it.
The steps to Smart VR Lab
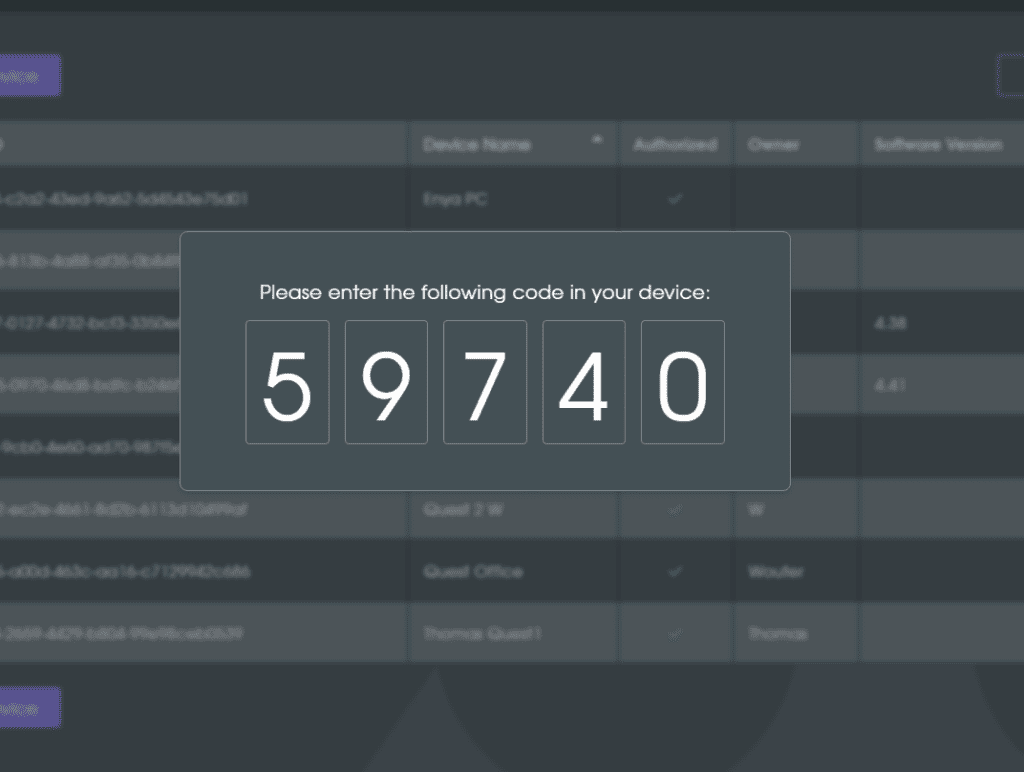
Step 1 - Connect your device to the CMS
First things first, let’s establish a connection.
To establish a connection, you need both your Oculus Headset with the Smart VR lab on it as well as the desktop application.
If you don’t know how to do this; Look here for a detailed step-by-step description.
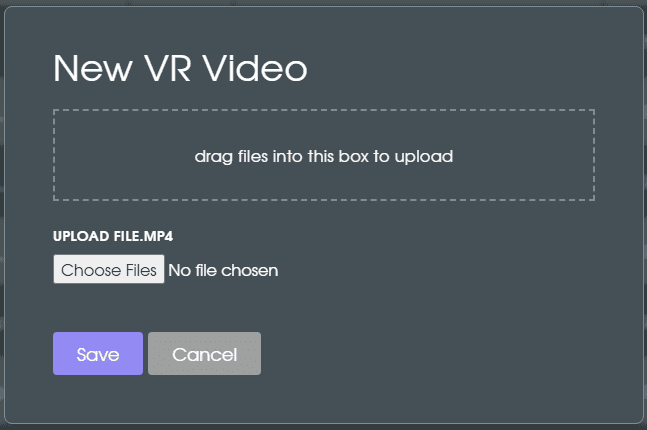
Step 2 - Upload a VR Video
What does a Content Management System need? Content to manage, of course. You can upload a video like this! Or even a photo, if you’d like to start with that.
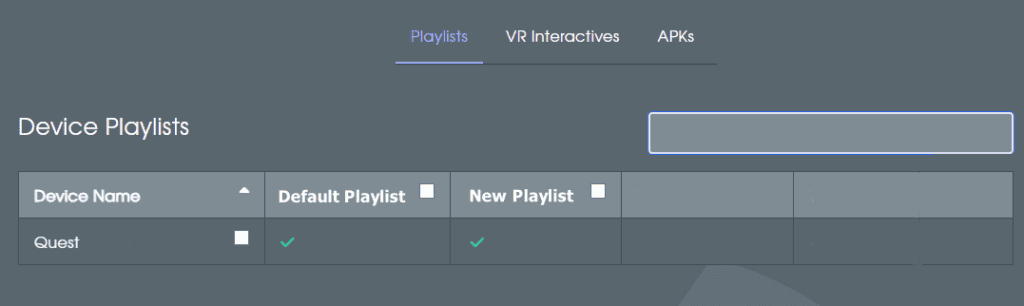
Step 3 - Add content to a playlist
Step 4 - Publish content to device
Time to publish your content and view it on your Oculus Device! See how it works here.
And… that’s it! You completed the guide to Smart VR Lab (CMS). Well done, you are now able to upload and publish content to your device just like that. Have fun with it!
Learn how to manage permissions for your users by clicking here.
Alright, nice job you got it! For other questions and guides, check out the rest of the articles on our Helpdesk. If you have any questions that aren’t answered then drop an e-mail to info@smartvrlab.nl.