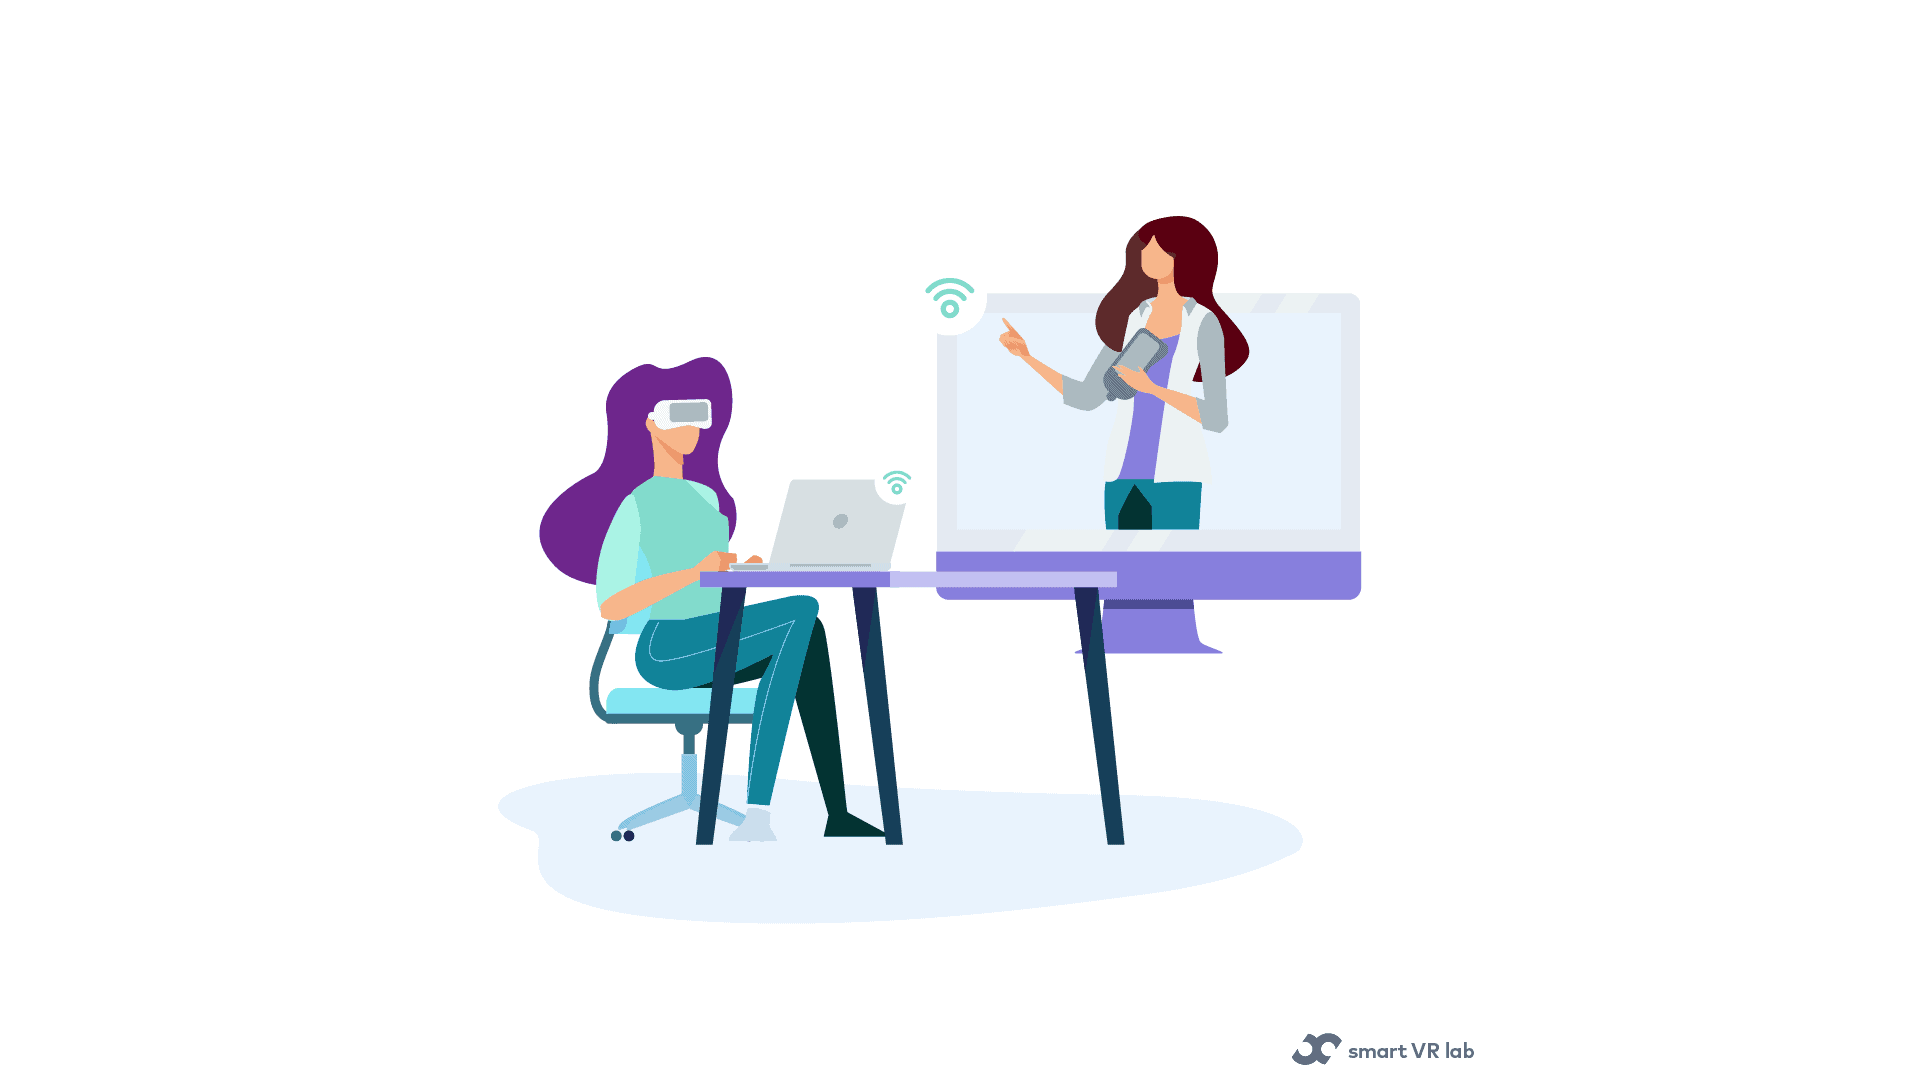
So, you have decided to go ahead and make use of VR technology for your company. You are planning to have a virtual meeting in a virtual space surrounded by virtual tools. To do this you need a VR meeting app with a VR headset such as Oculus.
A VR meeting app is any app in VR that lets you conduct meetings fully virtual (eg Spatial). In this app, you get to conduct a meeting just as you would in real-life but this time virtually. You can see your colleagues and interact with each other in the virtual room in real-time. Now you’re wondering, how do I onboard people who are newcomers to VR collaboration to the platform?
In this blog, we walk you through the onboarding process and what to expect. The general considerations and what to think about before shipping the VR headset. The insights will help you manage participants before and after wearing the headsets. And finally, making the transition from video conferencing app to VR.
General Considerations
First and foremost, do not expect to send a VR headset and schedule the actual meetup without an introduction to the hardware and software that’s going to be used. It is suggested to use a stand-alone headset with inside-out tracking like Oculus or Pico. This is because the PC VR headsets require external PC or external sensors, and that is a much more complicated setup.
Preparation
Taking Spatial as an example, the image below shows a couple of activities that you have to account for before shipping the headsets. You will also have to pick a video conferencing tool to enable the initial communication before everyone put the headset on.
Source: https://gabroxr.medium.com/how-to-onboard-remotely-newcomers-to-vr-collaboration-9c4e8fc4497b
Hardware
Let’s then start from the moment you and the aspiring “Virtual collaborators” join the video call after they got their headset delivered at home. This is the introductory session that will allow them to make the most out of the event that will take place one or two days after.
The first step is explaining the functionalities they will need in order to operate the headset AND have a comfortable experience. This means showing where the ON button is located but also how to correctly position the strap in a way that “cups the nape” and how to fasten and loosen the top strap. Think about who will use glasses and consider setting up the headset already adjusted before shipping. If your headset supports the IPD adjustment remember to show where it is located. Do not forget to go over the controllers and name each one of the buttons (grip, trigger, thumb stick etc).
Before putting on Headsets
Before wearing the headset, you should enable screen sharing, show them a video of the first view they will have in VR and explain to them what to expect. If you picked an Oculus quest as the hardware of choice, the first thing they will see is the prompt to set the guardian system. You can use the standard video from Oculus that explains the process very clearly.
After Putting on Headsets
It’s time to wear the headset! From now on anything can happen! Here is a short list to give you an impression of what could happen:
- Some people may not remove the lens cover and describing the world as “all black”,
- The controllers didn’t turn on unless pushing the menu button
- People might forget where the ON button was
- The headset couldn’t connect to the WiFi
The key to get through this is to find the right balance between freedom and guidance. Different users will need a different level of support based on their familiarity with technology. These systems are also easy to operate nowadays and you will see some users fly through the whole setup process. Be patient with the people that need more guidance. Just call them by name asking what they see (remember at this stage you are still communicating via Zoom). Do not limit to one question and follow up with more detailed questions to really understand how you can help them.
To make up for the difference between fast and slower users I would also strongly encourage setting up a checkpoint. This means that no one will proceed forward and open the collaboration app until everyone has created the boundaries and connected the headset to the WiFi. You have to be clear about this in advance, but is going to save a lot of headaches while trying to catch up and align the explanation.
Transition from Video Conferencing App to VR
The transition from Zoom to VR is quite a delicate moment because you will have to transfer from 2D to 3D communication. There are at least 2 mics and 2 sound sources per user and I strongly recommend doing the following:
- Use earphones on your Headset and do not rely on the built-in speakers
- Once people are IN the VR environment mute everyone on Zoom (you will be able to hear people in the VR environment through the audio of the Headset)
- Tell people to (at least) lower the volume from the speakers of their pc because any audio coming out of the PC might be captured by the mic of the headset
- Keep the chat open so that in case anybody has problems you can write to each other
If you have done everything correctly, everyone is in VR and ready to rock!
Smart VR Lab develops and produces training content for businesses across multiple industries. To transform your business, simply contact Smart VR Lab for a demo and set up a meeting with our team. If you have questions on anything related to VR, you can always send us a mail to info@smartvrlab.nl

